






Swedish Wall Installation: Parent's Safety Guide (2026)
Imagine your five-year-old is halfway up their new climbing ladder, eyes bright with the thrill of reaching the top, when you notice a slight wobble in the frame. Your heart stops. That split second of panic is exactly what every parent wants to avoid when setting up a playroom. Achieving absolute swedish wall safety at home isn't just about following a manual; it's about building a foundation of trust between your child and their environment. You want to see them climb, swing, and discover their limits without a single worry about structural failure or loose bolts.
We know the anxiety that comes with drilling into your walls, especially if you're navigating the complexities of metal studs or trying to avoid permanent damage in a Canadian rental property. You need a setup that handles adult weight and high-energy play with ease. This guide provides the technical mastery and safety protocols you need for a rock-solid installation. We'll cover everything from selecting the right tools for wood and steel to the final stress tests that guarantee total peace of mind. Get ready to transform your space into a professional-grade kids' gym that's as safe as it is exciting.
Key Takeaways
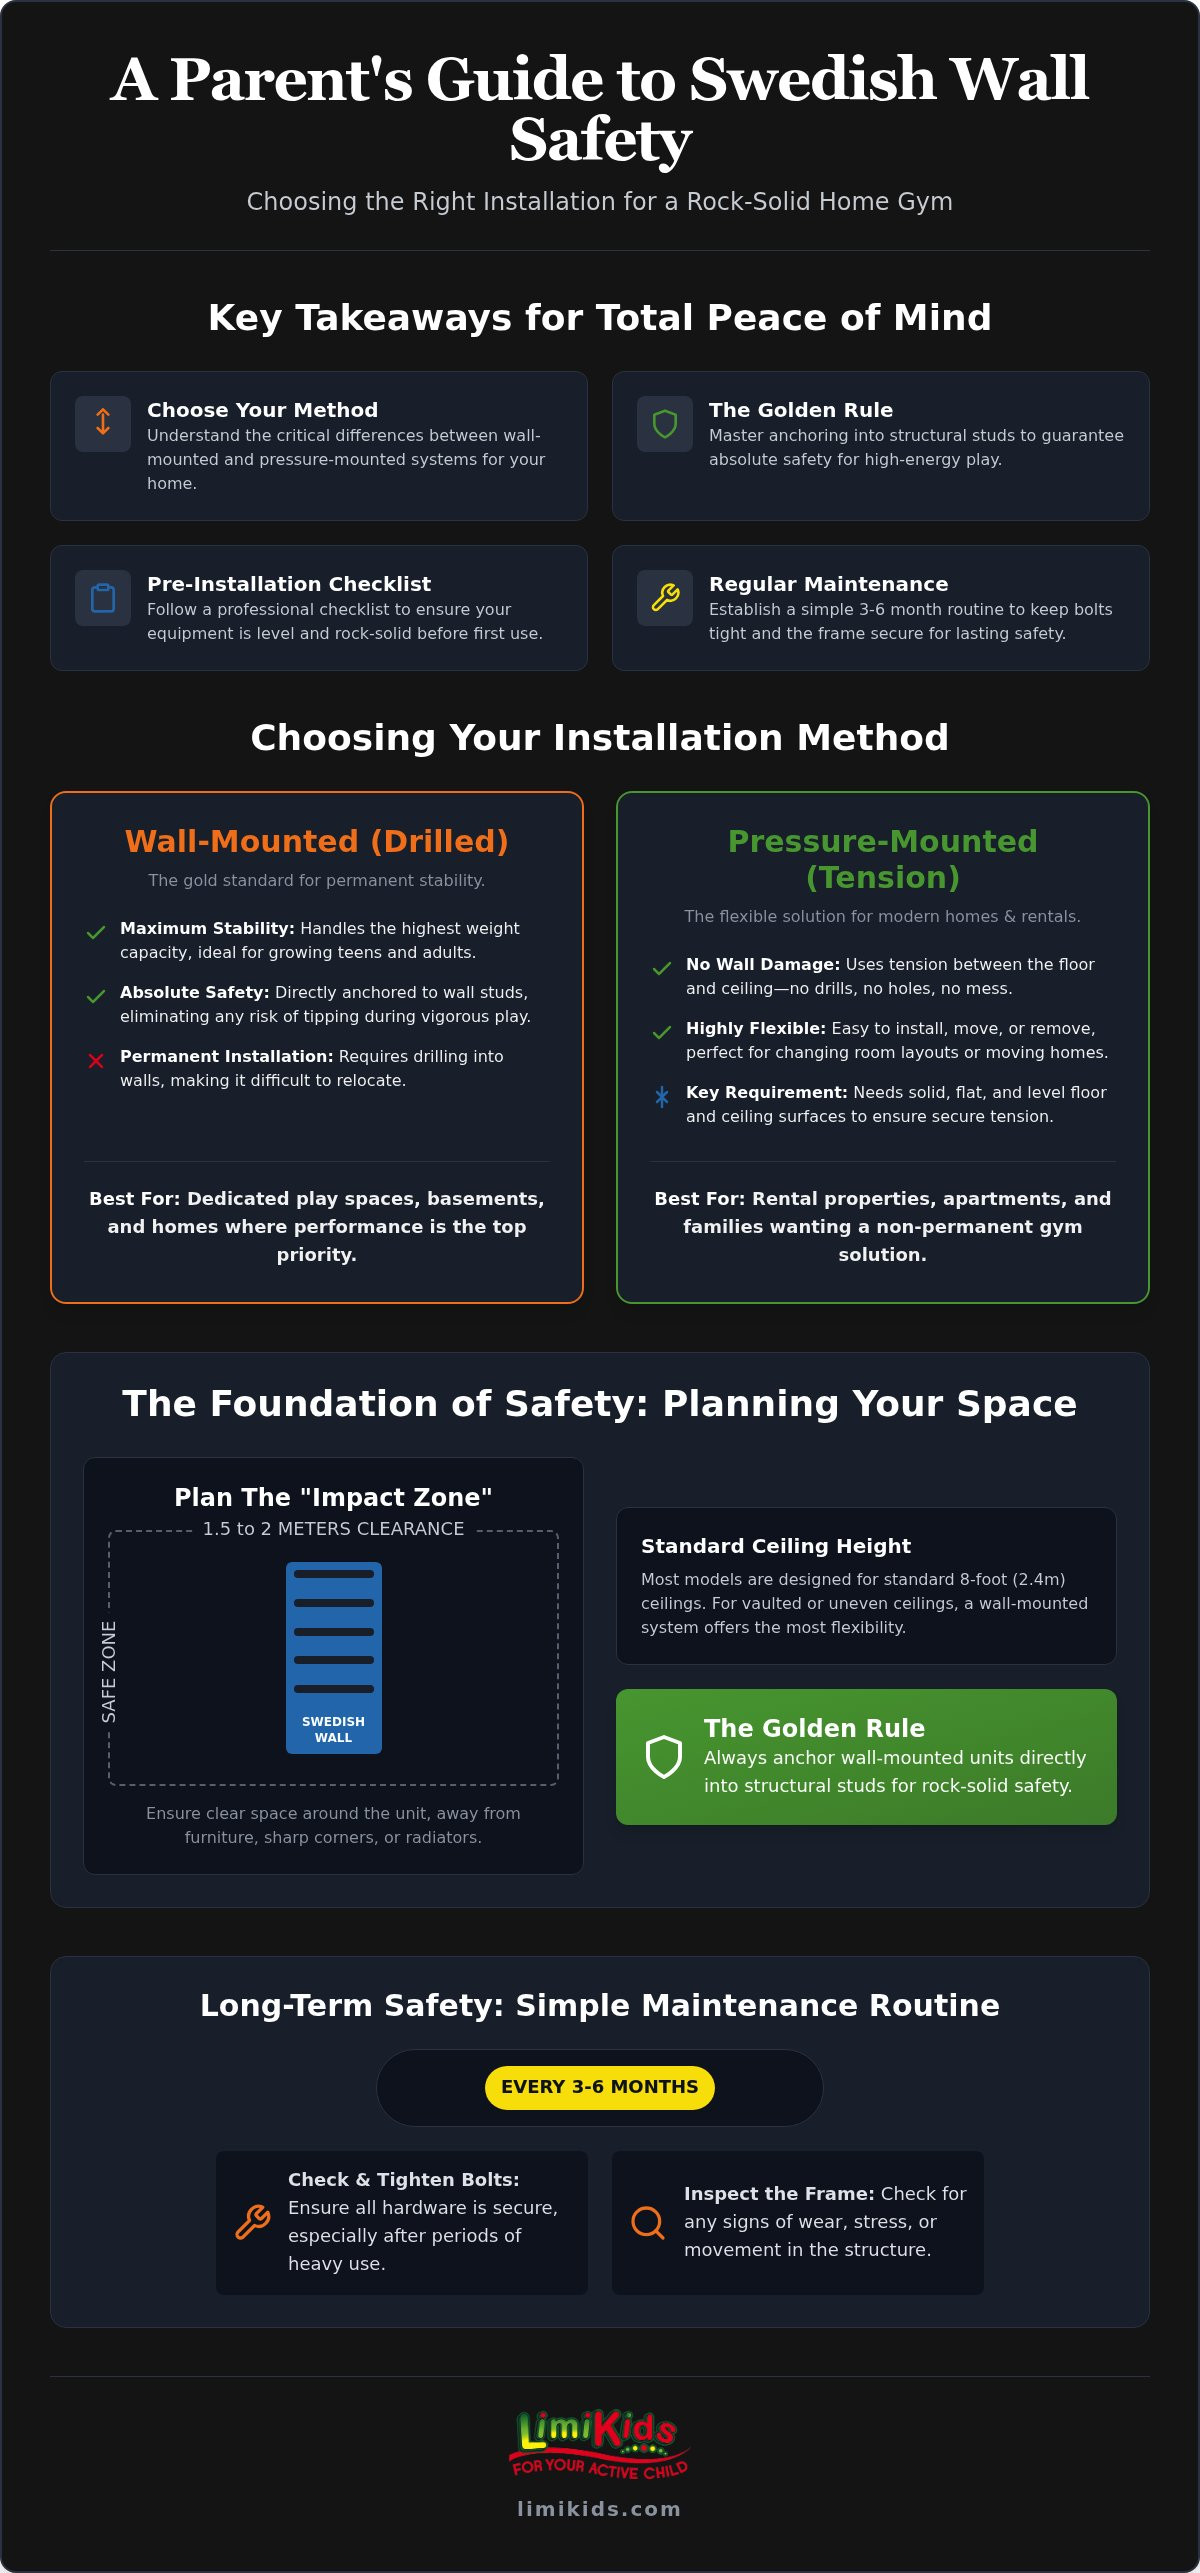
- Learn the critical differences between wall-mounted and pressure-mounted systems to choose the best option for your Canadian home or rental.
- Master the "Golden Rule" of anchoring into structural studs to guarantee absolute swedish wall safety at home for high-energy play.
- Follow a professional pre-installation checklist and floor-assembly method to ensure your indoor climbing equipment is level and rock-solid.
- Establish a simple 3-6 month maintenance routine to keep bolts tight and the frame secure as your child hits new physical milestones.
- Discover how to adjust your indoor jungle gym to grow with your child, maintaining structural integrity for years of active development.
Swedish Walls: Why Home Installation is a Game-Changer
A Swedish wall, also known as stall bars, is a multi-functional vertical ladder system that transforms any spare room into a hub for climbing and gymnastics. It is a space-saving miracle. While traditional play structures consume your entire floor, these bars utilize your walls to provide high-impact activity. It is the ultimate "vertical playground." You can build a professional-grade gym in a standard Canadian bedroom or basement without sacrificing living space. This setup encourages a vital transition for your kids. You are trading sedentary screen time for active, vertical discovery right at home. The foundation of swedish wall safety at home begins with understanding how this equipment integrates into your child's daily growth.
The Developmental Benefits of Vertical Play
Climbing is a powerhouse for physical growth. It builds explosive core strength and refines grip strength in growing children. These are the essential building blocks for athletic success and daily coordination. When kids navigate the rungs, they develop proprioception, which is the body's ability to perceive its position in space. This vertical movement is essential for gross motor skill development. It challenges their spatial awareness in ways that floor-based play simply cannot match. Every climb is a lesson in balance and achievement. Your child gains confidence with every inch they rise above the ground.
Space Requirements and Room Planning
Safe play starts with a smart plan. You must measure your "impact zone" before starting any assembly. This is the clear area around the ladder where your child might land or swing. Ensure you have at least 1.5 to 2 metres of clearance from furniture, sharp corners, or radiators. You are prioritizing swedish wall safety at home by measuring twice and installing once. Consider your ceiling height carefully. Most Canadian residential models are designed for standard 8-foot ceilings. If you have vaulted or uneven spaces, wall-mounted systems offer the most flexibility. Look for a location that allows for long-term use. As your child grows in height and skill, they will need room for more complex movements. Choose a permanent spot that supports their journey from toddler steps to teen gymnastics.
Choosing Your Installation Method: Wall-Mounted vs. Pressure-Mounted
Selecting the right mounting style is the first major decision in your journey toward swedish wall safety at home. You aren't just picking a look; you're choosing the structural backbone for years of active play. Whether you want a permanent fixture in a dedicated basement playroom or a flexible setup for a rental apartment, your choice dictates the weight limit and the footprint you leave behind. Both methods offer incredible benefits, but they serve different family needs and home environments.
The Wall-Mounted (Drilled) Approach
Wall-mounted systems are the gold standard for permanent stability. By drilling directly into your home's structural studs, you create a rock-solid connection that handles high-intensity movement. This is the ideal choice for a comprehensive indoor jungle gym where older children or multiple siblings might climb simultaneously. The safety logic is straightforward: anchored equipment simply cannot tip. This method aligns perfectly with the principles of the Anchor It! safety campaign, which highlights how securing heavy items to wall studs prevents accidents during vigorous activity.
- Pros: Maximum weight capacity and absolute stability for growing teens and adults.
- Cons: Requires permanent drilling into studs; difficult to relocate once installed.
- Best for: Dedicated play spaces where performance and high weight limits are the priority.
The Floor-to-Ceiling (Pressure) Approach
Renters often face a dilemma: how to provide high-energy play without losing a damage deposit. Pressure-mounted systems solve this by using industrial-strength tension between the floor and ceiling. You get a full-scale gym without a single hole in your drywall. It's a clean, modern solution that blends seamlessly into contemporary home decor. If you're looking for flexibility, view our versatile climbing frames to see how pressure mounting can work in your space.
Safety is paramount here. You must have a solid ceiling for this to work. Never attempt a pressure installation on drop ceilings or drywall-only sections without joists. These systems are fantastic for younger children and offer the unique ability to move the gym between rooms as your family's needs evolve.
- Pros: Zero damage to walls; easy to relocate or take with you when you move.
- Cons: Requires specific ceiling types; lower weight capacity than drilled models.
- Best for: Apartments, rentals, and younger children who need a flexible play area.
Wall-mounted units typically offer the highest weight ratings, often supporting adult users. Pressure-mounted units are surprisingly robust but require more frequent checks to ensure the tension remains tight. Regardless of the method, choosing high-quality materials ensures your home gym remains a safe, empowering space for your children to push their physical limits.
The Engineering of Safety: Securing Your Gym to Different Wall Types
Drywall is a cosmetic skin, not a structural support. Never trust drywall alone to hold the weight of a climbing child. This is the absolute golden rule of swedish wall safety at home. To build a rock-solid gym, you must anchor your equipment into the structural heart of your room. Use a high-quality stud finder to locate the exact center of your wall studs. Once you find them, mark the vertical lines clearly. A secure installation relies on multiple anchor points along the vertical bars. This distributes the dynamic load across the wall's frame, preventing any single bolt from bearing too much force. Before you let your kids loose, perform the "Adult Pull Test." Grip the bars firmly and apply your full body weight. If there is any movement, creaking, or flexing, stop immediately and re-evaluate your anchors.
Mounting to Wood Studs and Concrete
Wood studs are the most reliable anchor points in most Canadian homes. Use heavy-duty hex lag bolts to create a permanent, high-strength bond. You must drill pilot holes before driving these bolts. This prevents the wood stud from splitting and ensures the bolt threads have maximum grip for swedish wall safety at home. If you are installing in a basement with concrete walls, switch to expansion anchors. These metal sleeves expand inside the masonry to provide incredible pull-out resistance. Residential floors are rarely perfectly flat. Use a spirit level during every step of the process. If the floor is slightly uneven, use structural shims or adjust the mounting brackets to ensure the ladder stands perfectly plumb. A level gym is a safe gym.
The Challenge of Metal Studs and Drywall
Modern Canadian condos often use metal studs, which present a unique challenge for heavy equipment. Standard wood screws will strip out of thin metal instantly. For these walls, heavy-duty toggle bolts are essential. These anchors "wing out" behind the metal stud to provide a wide surface area of support. If you plan on high-intensity play or have multiple children, consider adding a plywood backer board. Mount a 3/4-inch piece of furniture-grade plywood across three studs first, then secure your gym to the plywood. This creates a massive, reinforced mounting surface that can handle significant weight. If you feel unusual resistance or the wall feels spongy during drilling, consult a local contractor. Safety is never a place to guess when it involves your child's playroom.
Step-by-Step Swedish Wall Installation at Home
It is time to turn your floor plan into a reality. You have chosen the perfect spot; now you must build the foundation for years of active play. To achieve absolute swedish wall safety at home, you need the right arsenal of tools. Gather a high-torque power drill, a reliable spirit level, a socket set, and your stud finder. Do not skip the unboxing inventory. Lay every component out on a clean floor and verify your hardware counts against the manual. Missing a single washer or bolt can compromise the structural integrity of the entire system. Building the frame horizontally on the floor first is non-negotiable. This prevents gravity from warping the alignment before the unit is even on the wall.
Phase 1: Frame Assembly and Alignment
Start by laying out the vertical rails and rungs. Hand-tighten the bolts initially. This "soft set" allows for minor frame adjustments as you move the unit into position. Ensure every rung is perfectly perpendicular to the vertical rails. If the frame is crooked on the floor, it will be unstable on the wall. Use your level constantly. A balanced frame distributes weight evenly across all anchor points, which is the secret to a professional-grade installation that lasts for a decade or more.
Phase 2: Anchoring and Load Testing
Use the "Template Method" to save your back and your drywall. Mark your hole locations on the wall using the assembled frame as a guide, then set the ladder aside to drill. This ensures precision without the strain of holding a heavy unit while trying to mark a stud. Drill your pilot holes directly into the center of the studs you located earlier. Secure the top brackets first. Once the unit is hanging, verify the bottom alignment before driving the final bolts. Finally, perform a static load test. Apply your full adult weight to the lowest rung and the pull-up bar. If there is zero movement, your anchors are secure.
Phase 3: Adding Accessories Safely
Now you can customize the experience for your child's specific developmental needs. Install monkey bars or pull-up attachments at heights that challenge them without being unreachable. Use heavy-duty carabiners for ropes and rings to ensure they never slip during a swing. You can even integrate sensory motor equipment for home to turn a simple ladder into a full-spectrum growth center. Finish the job by installing the provided safety caps over every bolt head. This protects little fingers from scratches and gives your gym a polished, expert look. Ready to upgrade your playroom? Explore our premium indoor jungle gyms and start your transformation today.
Maximising the Life and Safety of Your Home Gym
Installation is just the first step in your journey. To maintain swedish wall safety at home, you must adopt a proactive maintenance mindset. Think of your gym like a piece of high-performance athletic gear. It requires regular check-ups to handle the dynamic forces of climbing and swinging. Every 3 to 6 months, grab your socket set and verify the tightness of every bolt. High-energy play can cause minor vibrations that lead to rattling over time. Choosing equipment made from premium, high-quality materials significantly reduces these issues. Robust steel or furniture-grade wood resists warping and maintains structural integrity far longer than cheaper alternatives. This longevity ensures your investment remains a safe sanctuary for growth.
Your child's skills will evolve rapidly. Adjust the height of pull-up bars and monkey bars to match their growing reach. This keeps the equipment challenging and prevents awkward, unsafe stretches. You can elevate the experience by integrating these bars into a broader active discovery zone based on Montessori play equipment principles. This approach encourages children to explore their physical boundaries in a prepared environment that rewards curiosity and builds self-reliance. By aligning your home setup with these developmental principles, you turn a piece of hardware into a tool for lifelong physical literacy.
Creating a Safe Landing Zone
A rock-solid wall mount is only half the safety equation. You must provide a forgiving surface for the inevitable tumbles. High-density gym mats are non-negotiable under the entire climbing area. For standard residential bars, look for mats with a thickness of at least 5 to 10 centimetres. This provides the necessary shock absorption for vertical falls. Keep the "impact zone" completely clear of stray toys, blocks, or furniture. A clutter-free space prevents secondary injuries if a child loses their grip. Your floor should be as safe as the rungs themselves.
Encouraging Independent Play Safely
Empower your children with clear safety rules from day one. Introduce toddlers to the wall using the "two hands, one foot" rule. They should always have three points of contact while moving. This simple habit builds a foundation for swedish wall safety at home. Establish firm boundaries early. Jumping from the top rungs is strictly prohibited. Instead, set physical challenges that reward controlled movement, like "slow-motion" climbing or rung-skipping. These games keep the equipment engaging for years. You aren't just providing a toy; you are coaching them to master their own bodies with confidence and care.
Build Your Home Gym with Absolute Confidence
You are now ready to transform your home into a high-octane discovery zone. Mastering swedish wall safety at home isn't just about technical specs; it is about building a foundation of trust for your child's physical development. By following the Golden Rule of structural anchoring and performing regular maintenance checks, you ensure that every climb remains rock-solid and worry-free. Whether you are navigating a Toronto rental or a dedicated basement playroom, your attention to detail creates a space where kids can push their limits safely. These gyms do more than fill a room; they ignite gross motor skills and build lifelong confidence.
Trust the Canadian experts who have specialized in indoor climbing since 2008. LIMIKIDS provides space-saving designs engineered specifically for residential safety with fast national shipping across Canada. Explore Premium Swedish Walls at LIMIKIDS today. Start your journey toward a more active, empowered home environment right now!
Frequently Asked Questions
Can I install a Swedish wall on a drywall-only wall without any studs?
No, you cannot safely install a Swedish wall on drywall alone. Drywall is a cosmetic layer and will crumble under the weight of a climbing child, leading to catastrophic equipment failure. To guarantee swedish wall safety at home, you must anchor the unit into structural wood or metal studs. If your studs don't align with the brackets, install a 3/4-inch plywood backer board first to bridge the gap and provide a solid foundation.
What specific tools do I need for a standard Swedish wall installation?
You will need a standard set of home improvement tools to get the job done right. Essential items include a high-quality stud finder to locate your wall's structural heart, a power drill with appropriate bits, and a spirit level to ensure the ladder is perfectly plumb. A socket set is vital for driving heavy-duty lag bolts into wood studs. Don't forget a pencil to mark your template accurately before drilling the final holes.
How much weight can a home Swedish wall typically hold safely?
Weight capacities vary depending on the model and material, but most premium metal Swedish walls are engineered to support between 100 kg and 150 kg. This high capacity allows parents to climb alongside their children or perform their own fitness routines comfortably. Always check the specific manufacturer rating for your model before use. Remember, the ultimate weight limit is often determined by the strength of your wall anchors and the integrity of the stud connection.
Is it possible to install a Swedish wall in an apartment with low ceilings?
Yes, you can absolutely enjoy a vertical gym in smaller spaces. Wall-mounted models are the best choice for apartments with low or non-standard ceilings because they don't rely on floor-to-ceiling tension. You can position the unit at any height that allows for safe head clearance at the top. For renters, pressure-mounted systems are available, but they require a solid ceiling and a specific height range to function safely and effectively in your Canadian home.
How do I know if my wall studs are made of wood or metal?
Identify your stud type using a strong magnet or by observing the resistance during a pilot hole test. Magnets stick firmly to metal studs but only to the screws in wood studs. When drilling, wood studs produce small sawdust shavings, while metal studs offer sharp resistance followed by a hollow pop as the bit breaks through the thin steel. Knowing your substrate is critical for selecting the correct hardware and ensuring a permanent mount.
Do I still need a gym mat if I have thick carpet in the playroom?
Yes, a high-density gym mat is mandatory for swedish wall safety at home. While thick carpet feels soft, it lacks the specialized shock-absorbing properties needed to protect a child during a vertical fall. A dedicated mat with a thickness of 5 to 10 centimetres provides a landing zone that significantly reduces the risk of injury. Always prioritize a professional-grade landing surface over standard residential flooring to keep high-energy play safe and fun.
Can a Swedish wall be installed over existing baseboards or crown moulding?
You can install your gym without removing your home's trim. Most wall-mounted systems use adjustable brackets that provide enough clearance to sit flush against the wall above the baseboards. If your moulding is exceptionally thick, you may need to use structural spacers or a plywood backer board to create an even mounting surface. This ensures the vertical rails remain perfectly straight and secure without damaging your home's aesthetic finishes or Canadian rental property.
How often should I inspect the wall mounts and rungs for safety?
Perform a thorough safety inspection every 3 to 6 months. High-energy play creates constant vibrations that can slowly loosen even the most secure bolts. Check every connection point, including the wall anchors and the rungs, to ensure nothing is rattling or shifting. If you notice any movement during your regular pull test, tighten the hardware immediately. Routine maintenance is the simplest way to extend the life of your equipment and protect your active climbers.